The Art of Throwing Clay on the Pottery Wheel
Throwing clay on a pottery wheel is a mesmerizing and rewarding process. It requires skill, patience, and a steady hand, but with practice, anyone can learn the art of throwing clay. Here are some tips for getting started:
-
Choose the right clay: Start with a soft, pliable clay that is easy to work with. Avoid clays that are too wet or too dry, as they can be difficult to shape on the wheel.
-
Warm up your clay: Before you start throwing, it's important to warm up your clay by kneading it in your hands. This will make it more pliable and easier to work with.
-
Center your clay: The first step in throwing is to center the clay on the wheel. This involves shaping it into a round ball and then pressing it down onto the center of the wheel.
-
Open the clay: Once your clay is centered, use your hands to press down and outward on the ball, creating an opening in the center. This is called "opening the clay."
-
Pull up the walls: With the clay opened, use your hands to pull up the walls of the pot. Keep your hands evenly spaced and use a consistent pressure to create an even thickness.
-
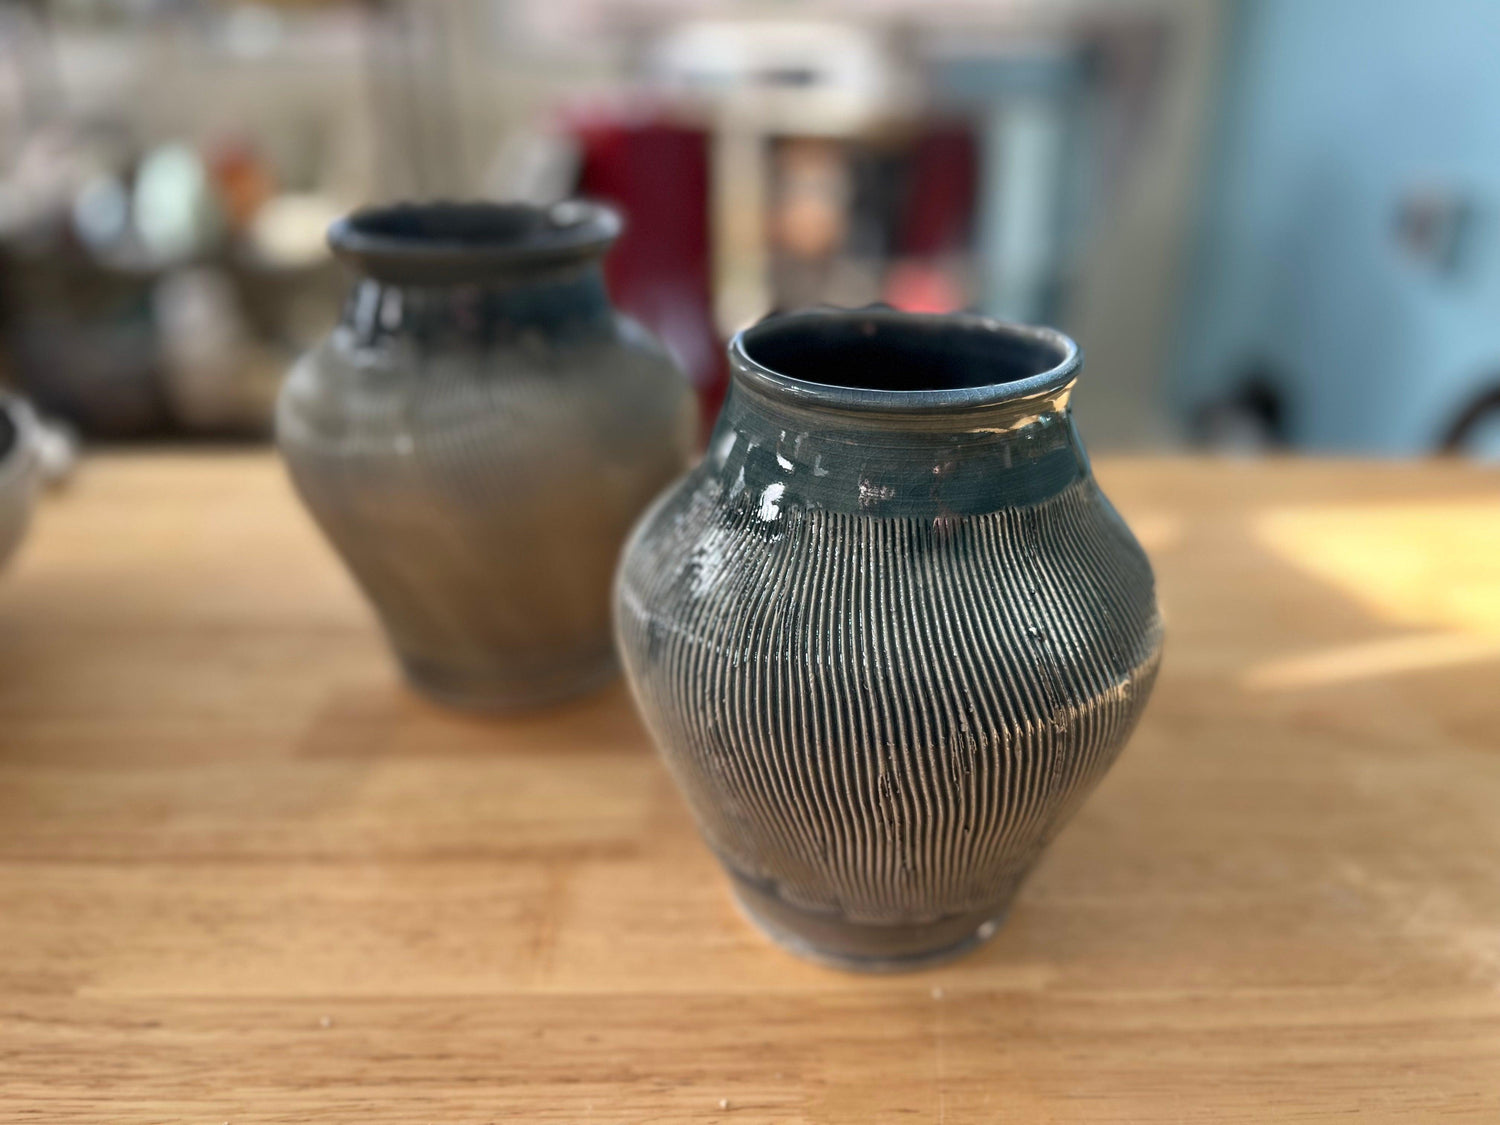
Shape the pot: As you continue to pull up the walls of the pot, use your hands and fingers to shape it into the desired form. You can also use tools such as ribbed sticks to create texture and detail.
-
Trim the pot: Once you have the desired shape, use a trimming tool to clean up the bottom of the pot and create a smooth, even base.
-
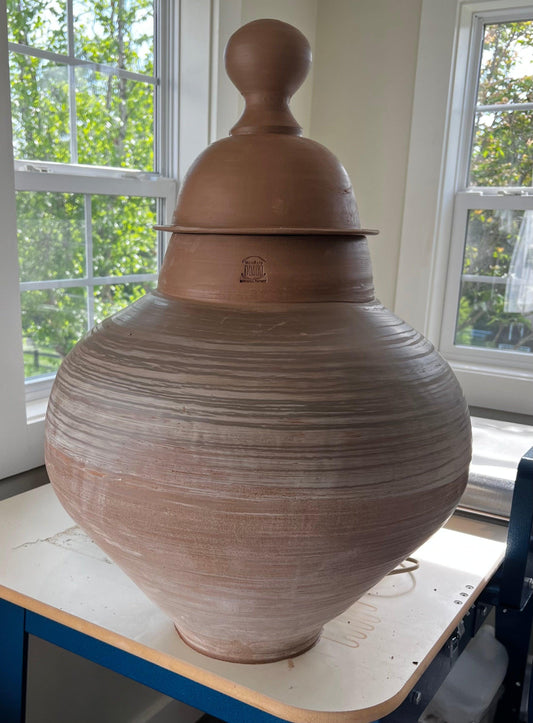
Let it dry: After trimming, let the pot sit for a while to firm up. This is called "leather hard." Once it is leather hard, you can add any additional details or embellishments.
-
Fire and glaze: Once your pot is completely dry, it's ready to be fired and glazed. Follow the instructions for your specific type of clay and glaze to ensure the best results.
Throwing clay on a pottery wheel takes time and practice, but it's a rewarding and satisfying process. With these tips in mind, you'll be well on your way to creating beautiful and unique pieces of pottery.

