How to Apply Glazes to Pottery
Glazed and Confused Don't worry we got your covered
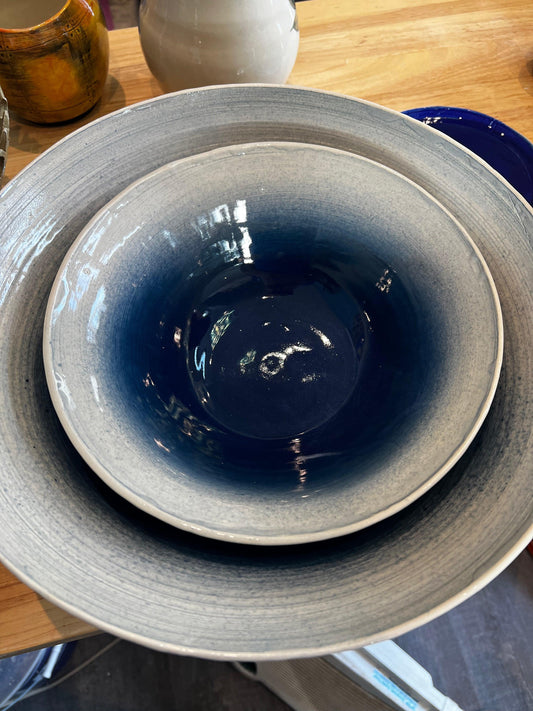
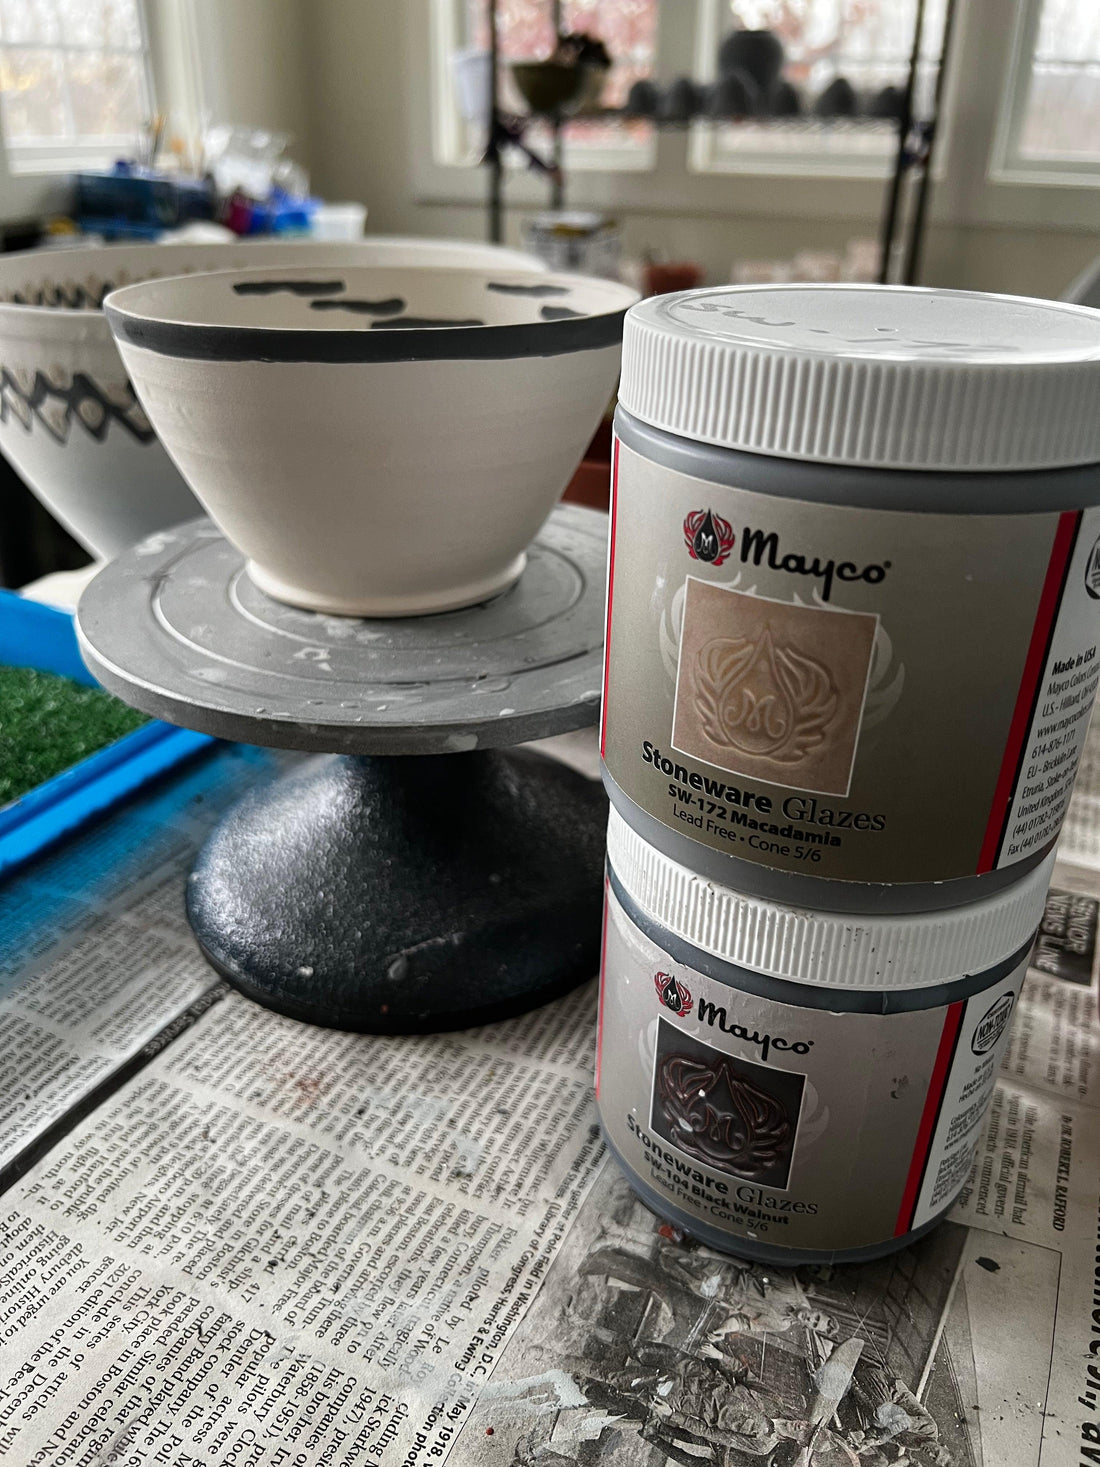
Applying glaze to your pottery can be a tricky process, but with the right techniques and tools, it can be a fun and rewarding experience. In this blog post, we'll take a look at how to apply glaze to your pottery, including some tips and tricks to help you achieve a smooth and even finish.

First, it's important to make sure that your pottery is clean and dry before applying glaze. Any dust or debris on the surface of your pottery can cause the glaze to adhere unevenly or even create bubbles in the glaze.
Next, you'll need to choose the right brush for your glaze. A soft, natural-bristle brush is best for applying glaze, as it will allow you to control the amount of glaze you apply and achieve a smooth finish. Avoid using stiff-bristled brushes, as they can leave brushstrokes in the glaze.
When you're ready to apply the glaze, use a light touch and apply the glaze in thin, even coats. Applying too much glaze at once can cause the glaze to run or drip, creating an uneven finish. It's better to apply several thin coats of glaze rather than one thick coat.
Another tip is to apply glaze to the bottom of the pottery as well as the top, this will help to seal and protect the pottery from liquids and will also help to create a more even finish.
Questions about glaze application
Here are some Q and A that can help to further understand the glaze application:
Q: Can I mix my own glaze? A: Yes, you can mix your own glaze. It is important to use a glaze formula and carefully measure out the ingredients to ensure consistency. You can also experiment with different ingredients to create your own unique glazes.
Q: How do I fix a glaze that is too thick or drippy? A: If your glaze is too thick or drippy, you can try thinning it out with water. Start by adding a small amount of water at a time and stirring well until you reach the desired consistency. Keep in mind that a thinner glaze will require more coats to achieve the same coverage as a thicker glaze.
Q: Can I apply more than one glaze to my pottery? A: Yes, you can apply more than one glaze to your pottery. This is known as layering glazes, and can create interesting and unique effects. Keep in mind that layering glazes will affect the final outcome of the glaze and the pottery should be fired accordingly.
Q: What should I do if the glaze turns out different than I expected? A: If the glaze turns out different than you expected, you can try adjusting the glaze formula or the firing conditions. You can also try layering glazes or applying different glazes to different areas of the pottery to create a more interesting effect.
By following these tips and tricks and understanding the Q and A you will be able to apply glaze to your pottery with more ease and confidence. Also, always remember to test your glaze before applying it on your final piece, this will help you to understand how the glaze will react on different types of clay and firing conditions.
Note about the different types of Glazes
There are many different types of glazes, each with their own unique properties and uses. Some of the most common types include:
-
Underglazes: These glazes are applied to pottery before the final glaze is applied, and can be used to create a base color or design on the pottery. They are typically used at lower firing temperatures and are not as glossy as other types of glazes.
-
Overglazes: These glazes are applied on top of the final glaze, and can be used to add details, patterns or designs to pottery. They are typically used at lower firing temperatures and are not as glossy as other types of glazes.
-
Oxides: These are metal compounds that are added to glazes to create specific colors. For example, iron oxide can be added to create a red or brown color, while cobalt oxide can create a deep blue color. Oxides can also be used to create a range of other colors, such as yellow, green, and black.
-
Opacity: Some glazes are opaque, meaning they will not allow light to pass through and will cover the pottery completely. Other glazes are transparent, meaning that light will pass through and the pottery underneath will show through.
-
Matte: Some glazes are matte, meaning they have a dull or non-glossy finish. Other glazes are glossy, meaning they have a shiny, reflective finish.
By understanding the different types of glazes, potters can choose the right glaze for their specific project and achieve the desired effect. It's important to keep in mind that glazes can react differently depending on the specific clay and firing conditions. Always test the glaze before applying it to your final piece, this will help you to understand how the glaze will react on your pottery and how to achieve the desired effect.

